 |
 |
 |
|
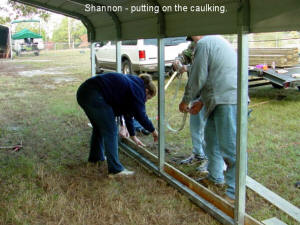
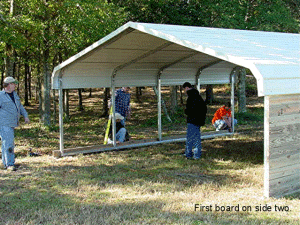
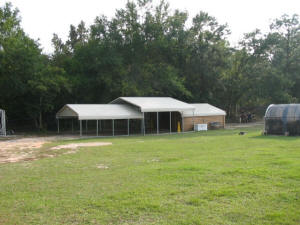
We started with an 18 x 20 carport by CoverAll with 5' legs.
Shannon is putting caulking on top of each board before the next board is
attached. |
We enclosed the sides and ends with
5/4" x 6" treated lumber. |
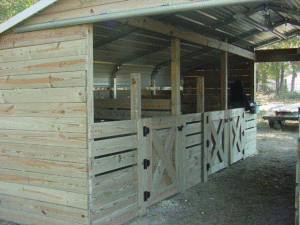
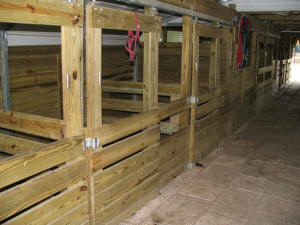
Dividers were built and stalls were created. Each stall is approximately 6 x 7. These may seem small, but our horses are in only twice a day for feeding. They are only left in overnight if they are ill or if the weather doesn't allow turnout. Even in a 6 x 7 stall our largest mare, 36" Brandi, can roll over and seems comfortable.
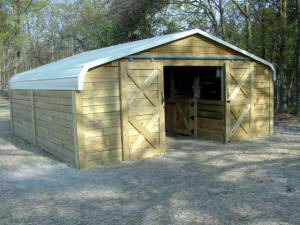
In this barn all the doors are swinging doors. In the newer barn all the doors are sliding doors.
|
|
|
|
|
 |
 |
 |
|
The end result...our first barn.....three 6 x 7 stalls, one 6 x 14 stall and one tack room. This also gives us a 6' aisle down the center. The 6 x 14 stall was used as a foaling stall for Vicki, our first pregnant mare. That stall was later converted back to two 6 x 7 stalls. |
in 2007
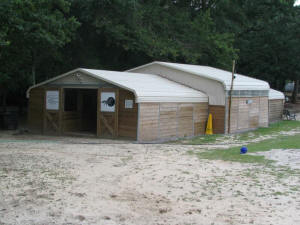
we had officially outgrown our original barn, so we added on.
We added an additional 18 x 24 carport and in-between it we put a 24 x 20 carport with 7' legs. The 18 x 20 end would have six regular 6 x 7 stalls and the middle would be our foaling stalls and our newer, larger tack room. The foaling stalls have wireless cams, and are approximately 8 x 10 in size. |
We also changed the construction of the building. The original building took a great deal of time to construct as it was necessary to drill through each of the legs of the building to fasten on the boards, then the ends of the bolts needed to be sawed off for safety reasons. The end result was good, but the time involved was excessive.
|
|
|
|
|
 |
 |
 |
|
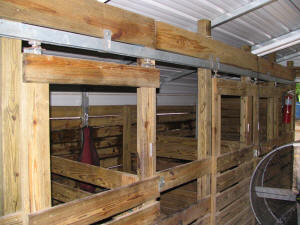
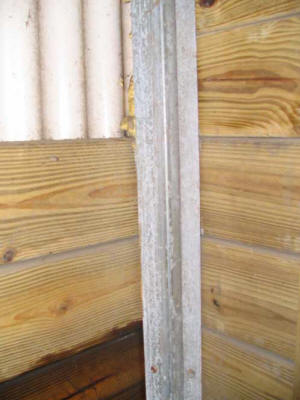
With the next two barns my husband decided to have U-channels built to mount to the legs. The U-channels were mounted on each leg and the boards were cut and slid down into the u-channels. Thus, there was minimal drilling, screwing, fastening of any kind. And, as the wood dries and shrinks, the weight of the boards above cause each board to settle, creating a tighter fit. These last two barns are much tighter than the first. The pole that you see outside is for my wireless cameras....all our electric is run underground. |
We also chose to use light panels at the top of the walls in the center barn, to increase the light in that area.
Our biggest challenge was leveling, and connecting the barns together. Once everything was completed, my husband surprised us with stone tile floors. It helps us keep the barn clean and it looks good. He didn't want anything permanent like concrete, so he went with the tile. The ground was leveled, the tiles placed and leveling sand was brushed over them. They can be moved or replaced easily.
|
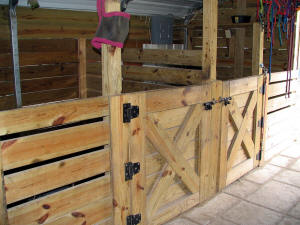
The photo to the left shows a closeup of the sliding doors. The photo
above shows our tack room.
|
|
|
|
|
 |
 |
 |
|
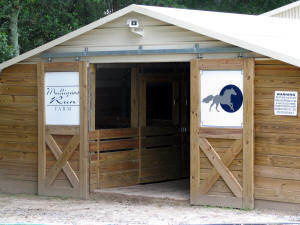
The East End of the barn once it was finished. |
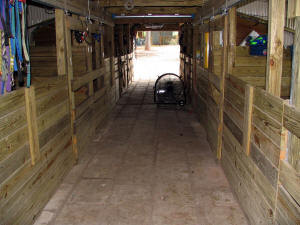
The alleyway from the East End. |
The original barn with the swinging doors. The two additions have the
sliding doors.
And, while my husband thinks we're done.....I'm hoping to add another 20 x 24 barn on this year. We'll see......
|
|
|
|
|
 |
 |
|
|
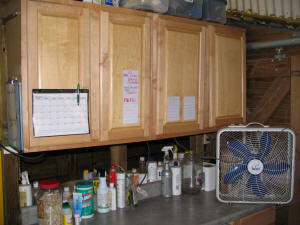
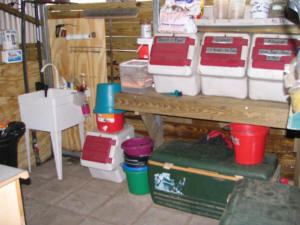
Another view of our tack room. We use large coolers to hold the beet pulp
and the feed. They double as seating when the lids are closed. |
Close - of a corner U-Channel |
|